Introduction
Ubuntu 20.04 (Focal Fossa) is the newest LTS release that came out on April 23, 2020. If you already have Ubuntu 18.04 or 19.10 installed, you can easily upgrade to the latest version.
In this tutorial, learn how to upgrade to Ubuntu 20.04 from 18.04 or 19.10 version.
Prerequisites
- A system running Ubuntu 18.04 or Ubuntu 19.10
- Access to a terminal window / command line (Ctrl+Alt+T, search > terminal)
- A user account with sudo or root privileges
Note: As you looking to do a fresh installation of Ubuntu 20.04 LTS? We have a detailed tutorial.
Upgrade to Ubuntu 20.04 via GUI
If you prefer updating your system using the graphical user interface, follow the steps outlined below. The instructions apply to both Ubuntu 18.04 and Ubuntu 19.10 users.
Note: Are you are upgrading from a system already in use, make sure to backup your data before you start.
Step 1: Update the System
Firstly, you need to start by updating the system and software running on your Ubuntu. You can easily switch to the newer version with the Debian upgrade process, but you need to ensure you have the latest packages.
1. Open the Search bar and type in Software Updater. Find the icon in the results and open the console.
2. Upon launch, the program checks for new updates. Wait for it to finish.

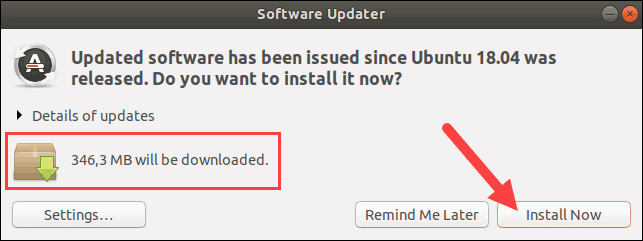
3. The output tells you the size of the new updates. Click Install Now to update all the software packages.
4. Confirm the installation by providing your password and finish updating by restarting the system when asked.
Step 2: Upgrade to the Newest Ubuntu Version
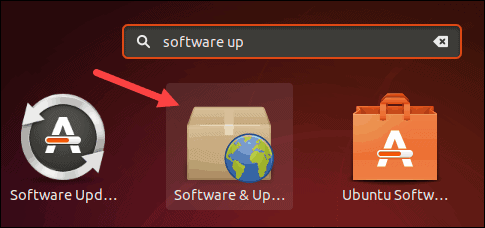
1. After restarting, reopen the Search bar and find the Software and Updates package.
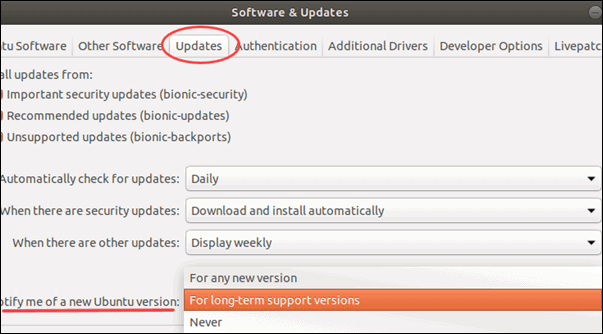
2. Navigate to the Updates tab and set the Notify me of the new Ubuntu version. The drop-down menu should be set on For long-term support versions.
3. Then, open the command box by pressing the keys Alt+F2. The console serves as a substitute for running quick commands without having to open a terminal window.
4. Once the command box opens, run the following command to prompt the system to check for new long-term support versions:
update-manager -c -d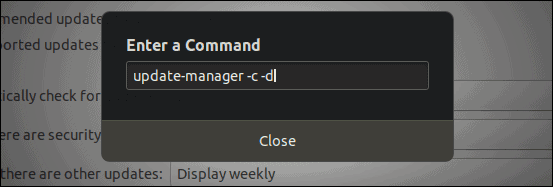
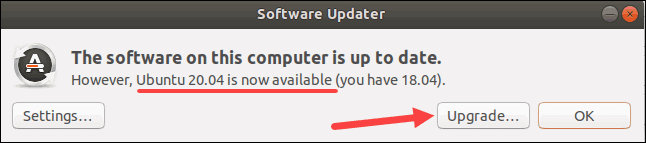
5. The software updater will inform you that Ubuntu 20.04 is now available. Click Upgrade to upgrade your Ubuntu version to the new LTS release.
6. Next, you need to authenticate. Type in your password to do so.
7. A new window with Release Notes for Ubuntu Focal Fossa opens. Continue by clicking Upgrade again.
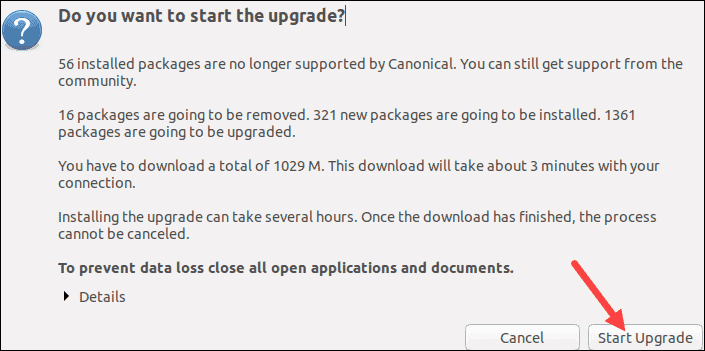
8. Next, the output informs you about all the details of the upgrade. Make sure you have enough space on the system, close any open applications, and click Start Upgrade.
9. The installation wizard then asks you to confirm you want to remove obsolete packages. Click Remove to do so.
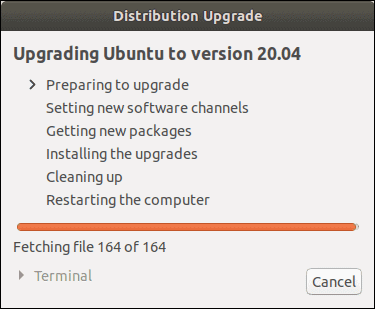
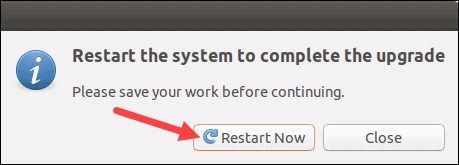
10. Finally, restart the system to complete the upgrade.
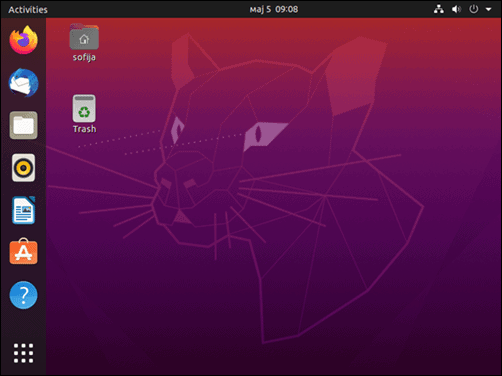
The new Ubuntu release will start up and you will see the attractive dark version of the default Yaru theme.
Upgrade to Ubuntu 20.04 via Command Line
You can upgrade to Ubuntu 20.04 through the command line. The commands are the same for both Ubuntu 18.04 and Ubuntu 19.10.
Step 1: Update and Upgrade
It is crucial to start with a complete system upgrade. Run the following commands to ensure your repository and software packages are all up to date:
sudo apt-get updatesudo apt-get upgrade -ysudo apt-get dist-upgrade -yNext, remove all unnecessary packages that may be taking up disk space on your system:
sudo apt-get autoremoveStep 2: Set Up Update Manager
Ubuntu allows you to easily upgrade to the newest LTS version using the Update Manager. If you do not have this package installed on the system, follow the steps below.
1. Run the command for installing Update Manager:
sudo apt-get install update-manager-core2. Press y and Enter to confirm the installation.
3. Open its configuration file to check whether the Update Manager is set to download long-term supported versions:
sudo nano /etc/update-manager/release-upgrades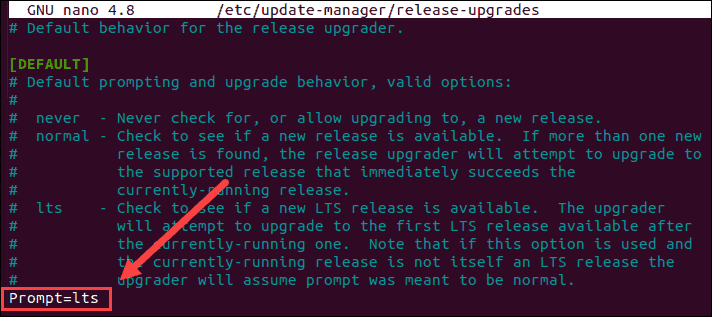
As in the example above, the line Prompt should have lts selected.
Step 3: Upgrade to Ubuntu 20.04
1. With the Update Manager installed and set to search for LTS releases, you can use the following command to see the latest version available:
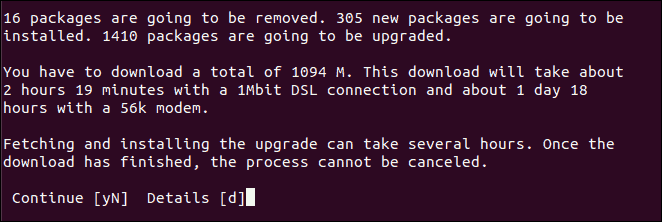
sudo do-release-upgrade -d2. The output tells you that Ubuntu 20.04 is now available for download. Additionally, it notifies you how many packages are going to be downloaded, upgraded, the size of these packages, and the time it will take to upgrade. Press y to continue.
3. Next, the prompt asks you to confirm you agree with removing obsolete packages. Again, press y to continue.
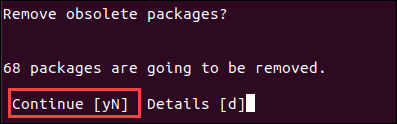
4. Once the system upgrade completes, it will inform you that a restart is required. Press y to finish the update.
5. Ubuntu 20.04 will launch, and you should see its impressive new dark theme desktop, seen in the image below.
Verify Ubuntu Version
You can check the Ubuntu version of your upgraded system, either through the command line or via GUI.
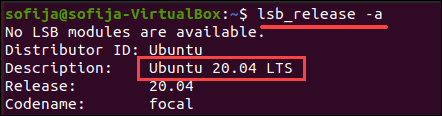
To verify your Ubuntu version, enter the command in a terminal window:
lsb_release -aAfter the upgrade, the output should show you are now running Ubuntu 20.04.
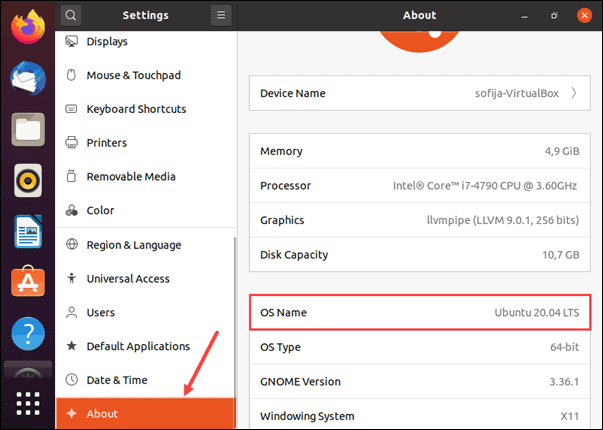
Alternatively, you can use the GUI to check your Ubuntu version by opening the Settings window and navigating to the About tab. There you will find the OS Name that includes the release number, as in the image below.
Conclusion
This article has shown you how to upgrade an existing Ubuntu 18.04 or 19.10 to the latest long-term supported version 20.04. You can choose between using the GUI or command line to set up Ubuntu 20.04.
