Introduction
Ruby is a programming language and development environment. It’s often used in web applications, data analysis, and other general-purpose programming.
This guide will show you two options to install Ruby on a Windows 10 system.

Prerequisites
- A system running Windows 10, updated to version 2004 (May 2020)
- A user account with administrator privileges
- Access to the command line / powershell
(click Start > type “cmd” > right-click > Run as administrator OR Start > type “powershell” >right-click > Run as administrator)
About Ruby: Ruby was developed under the Linux and macOS architecture. There are two ways to run Ruby on Windows. The more straightforward method is to use the Ruby installer to install all the software packages required. The more robust method is to install the Linux subsystem on Windows 10, then use Linux commands to install Ruby.
Installing Ruby Using the RubyInstaller Tool
This process uses the latest version from the Ruby Developer Download page. There are multiple options on this page.
If the system is used for developing software, or you aren’t sure which to choose, use a version With Devkit (Developer’s Kit). If you only need to run Ruby applications, use the version Without Devkit.
Step 1: Download the RubyInstaller Tool
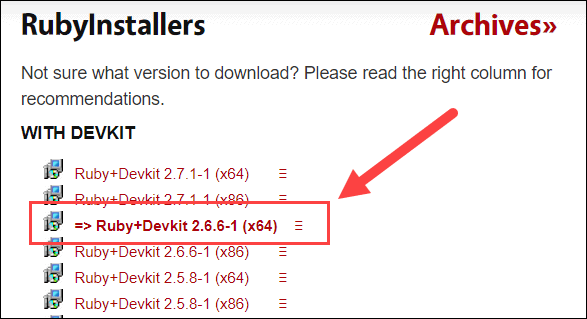
Use a web browser to navigate to the Download page (linked above). If no specific version is needed, select the bolded option:
Save the file and remember its location.
Step 2: Run the Ruby Installer
1. Browse to the location of the RubyInstaller tool, and double-click.
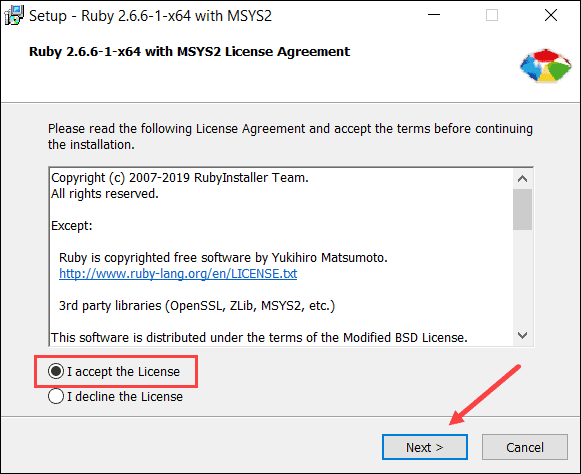
2. A Setup dialog launches and displays the License Agreement. Review it, tick the box to accept the agreement, then click Next.
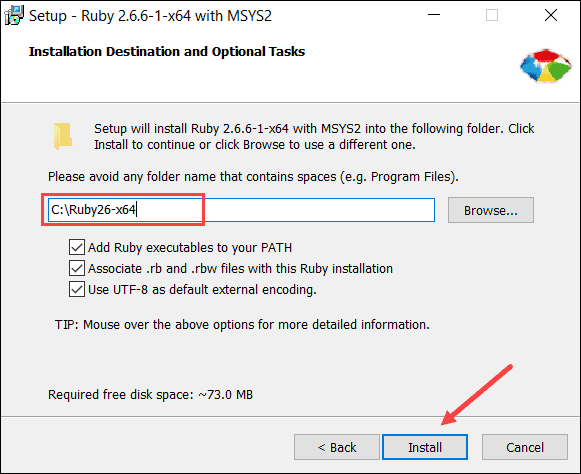
3. The installer asks to adjust the installation location and associated file types. Leave the defaults selected, unless the system requires differently, then click Install.
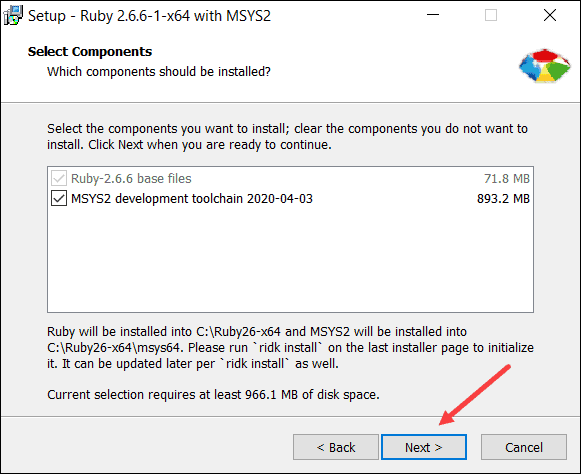
4. The system prompts to select components. Leave the default settings, and click Next.
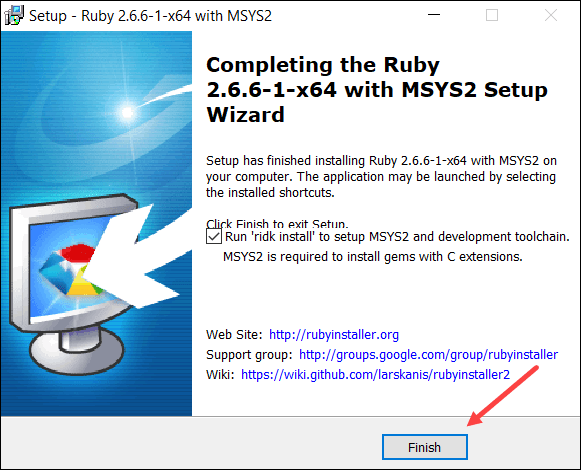
5. The Setup dialog runs for several minutes. When finished, it prompts to “Run ‘ridk install’ to setup MSYS2 and development toolchain.” Leave this checked and click Finish.
6. A black command-line-style window appears, labeled RubyInstaller2 for Windows. Select the components to install. Press Enter to install the default tools.
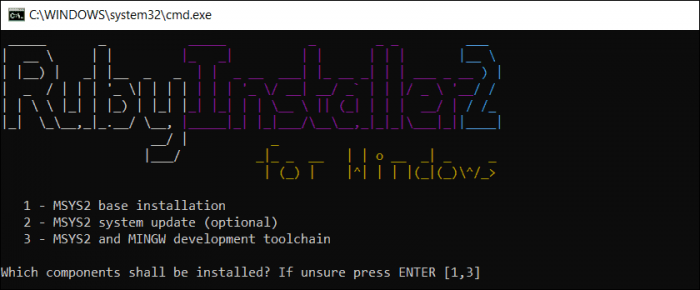
7. Once it finishes, press Enter again for the installer to close.
Step 3: Verify the Ruby Installation
If you have any terminal windows open, close them. Open a new terminal window, and enter the following:
ruby –vThe system displays the current version of Ruby installed on Windows 10.

Installing Ruby with the Linux Subsystem
Step 1: Enable the Windows Linux Subsystem (WSL)
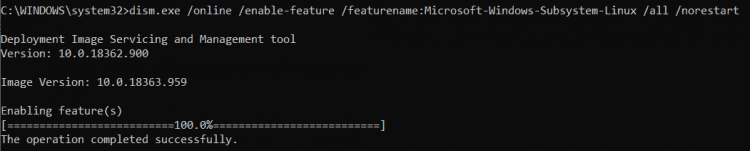
Open a command line, and enter the following command:
dism.exe /online /enable-feature /featurename:Microsoft-Windows-Subsystem-Linux /all /norestartThe system takes a few moments to enable the feature. Then, make sure to reboot the system for the changes to take place.
Step 2: Install Linux Distro
1. Once the system reboots, launch the Microsoft Store, click Search, and type Linux. The store lists several different versions of Linux that can run within Windows. If you don’t have a preference, Ubuntu 20.04 is a modern, easy-to-use version.

2. Select the version, then click Get.
3. The store displays that you now own the software. Select Install. You may be prompted to sign in with a Microsoft account. You may skip signing in.
4. Once the process finishes, you can either click Launch or exit the Microsoft Store.
5. Search for the Ubuntu Linux Subsystem in the Start Menu. Open it to complete the installation.
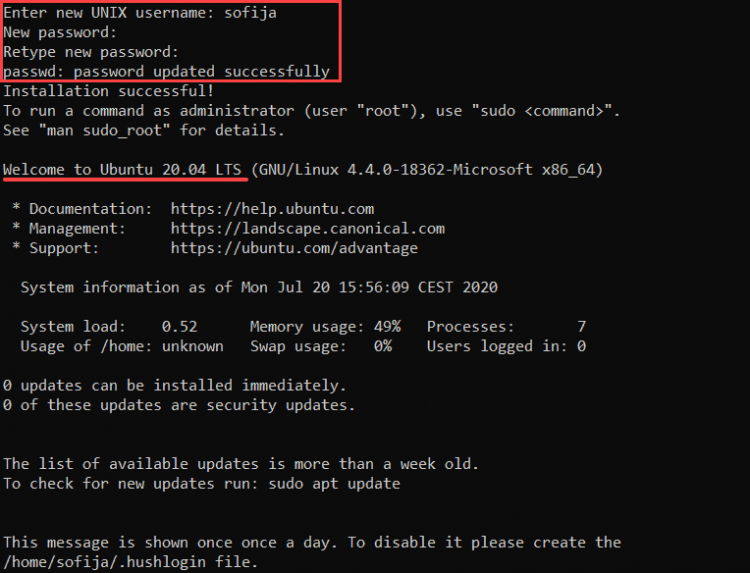
6. Follow the prompts and set up a user account and password for the Ubuntu subsystem. The output then notifies you have successfully installed Ubuntu.
Note: The Linux subsystem includes many tools commonly used in Linux. These include the BASH shell, the APT package manager, and others.
Step 3: Update the Linux Subsystem
When using Linux, it’s essential to update the system and software packages before installing new software.
To update your Linux subsystem, open a command line, and enter the following:
sudo apt updateAllow the process to complete. You may be prompted to confirm the installation of some packages – to do so, type y and Enter.
Note: The sudo command stands for SuperUser DO. It lets you run a single command as an administrator, maintaining security on the system while accessing essential tasks.
Step 4: Install Ruby
Once your Linux subsystem is fully installed and updated, install Ruby by entering the following:
sudo apt install ruby-fullConfirm the installation with y and Enter.
Step 5: Verify the Installation
To verify Ruby was successfully installed on Windows 10, enter the following command:
ruby –vThe system should display the current version of the installed Ruby software.

Note: There are several ways to install Ruby on an Ubuntu system. To find out more, refer to How to Install Ruby on Ubuntu 18.04 or How to install Ruby on Ubuntu 20.04.
Conclusion
You should now have the Ruby programming language installed on Windows 10. Next, you may want to look into setting up Ruby on Rails.
