How to Install Rancher on Ubuntu

Published:
July 28, 2026

Rancher is a container management platform that helps manage Kubernetes at scale. It lets you deploy and run Kubernetes everywhere with ease. The software is especially useful as most cloud virtualization vendors include Kubernetes as standard infrastructure.

In this tutorial, you will learn how to install Rancher on Ubuntu.
How to install Rancher on Ubuntu.

Note: Find out what makes Kubernetes a fundamental tool for managing and deploying containers in this Complete Kubernetes Guide.

Prerequisites

  • A system running Ubuntu (this tutorial uses Ubuntu 26.04).
  • Access to a command-line/terminal.
  • A user account with sudo or root privileges.
  • Multiple nodes to use for your cluster.

Install Docker Engine

Although Docker is available in the official Ubuntu repositories, it is often not the latest available version. Follow the steps below to add the official Docker repository to your system and install the latest Docker version.

Step 1: Update System Package Index

Ubuntu uses the APT package manager to install and manage software packages. Before installing Docker and Rancher, refresh the local package index to download the latest package metadata from the configured repositories and ensure you get the latest program versions.

Run the following command:

sudo apt update

Step 2: Install Required Packages

Docker requires several supporting packages before you can add its official repository. Install ca-certificates to verify package signatures and curl to download files from remote servers.

Use the following command:

sudo apt install ca-certificates curl -y

The -y option automatically confirms the installation prompt.

Step 3: Add Docker Repository

Rancher runs as a Docker container. Although Ubuntu includes Docker packages in its default repositories, Docker recommends installing the latest version from the official Docker repository to receive the newest features, bug fixes, and security updates.

Follow these steps:

1. Create the directory where Ubuntu stores repository signing keys:

sudo install -m 0755 -d /etc/apt/keyrings

The command creates the /etc/apt/keyrings directory with the appropriate permissions if it does not already exist.

2. Download Docker's official GPG key and save it to the keyrings directory:

sudo curl -fsSL https://download.docker.com/linux/ubuntu/gpg \
-o /etc/apt/keyrings/docker.asc

This key allows APT to verify that packages downloaded from the Docker repository are authentic and have not been modified.

3. Grant read permissions so APT can access the key during package installation:

sudo chmod a+r /etc/apt/keyrings/docker.asc

4. Create a repository definition that points APT to Docker's official package repository:

sudo tee /etc/apt/sources.list.d/docker.sources <<EOF
Types: deb
URIs: https://download.docker.com/linux/ubuntu
Suites: $(. /etc/os-release && echo "${UBUNTU_CODENAME:-$VERSION_CODENAME}")
Components: stable
Architectures: $(dpkg --print-architecture)
Signed-By: /etc/apt/keyrings/docker.asc
EOF

The configuration automatically detects the Ubuntu release and system architecture, ensuring APT downloads compatible Docker packages.

Step 4: Install Docker

Refresh the package index again so APT detects the newly added Docker repository:

sudo apt update

Install Docker Engine together with the required components:

sudo apt install docker-ce docker-ce-cli containerd.io docker-buildx-plugin docker-compose-plugin -y

Step 5: Enable and Start Docker

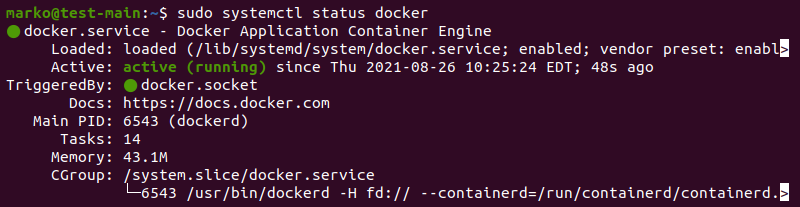
After installation, Docker runs as a system service. Enable the service so it starts automatically after every system reboot, then start it immediately with:

sudo systemctl enable docker
sudo systemctl start docker

Step 6: Allow the Current User to Run Docker Commands

By default, only the root user can run Docker commands. Run the command below to add the current user to the docker group to use Docker without typing sudo before every command:

sudo usermod -aG docker $USER

Group membership changes apply only to new login sessions. Instead of logging out and back in, activate the new group immediately with:

newgrp docker

Note: If you connect to the server over SSH, you can also disconnect and reconnect instead of running the newgrp command.

Step 7: Verify the Docker Installation

Confirm that Docker is installed successfully by checking the installed version:

docker --version
Checking Docker version.

You can also check if it works properly by running the hello-world test container:

docker run hello-world

If Docker is configured correctly, it downloads the test image, starts a container, and prints a confirmation message similar to the following:

Verifying Docker installation with hello-world container.

Configure System

Before deploying Rancher, configure the operating system to meet Kubernetes requirements. The following steps prepare the server by disabling swap, configuring kernel settings, adjusting firewall rules, and setting up persistent storage.

Step 1: Disable Swap

Kubernetes requires swap to be disabled because it expects direct control over memory allocation. Leaving swap enabled can cause unpredictable resource management and prevent Kubernetes components from functioning correctly. Since Rancher relies on Kubernetes, disable swap before deploying Rancher.

First, disable swap for the current session:

sudo swapoff -a

The change takes effect immediately but is lost after a reboot.

To disable swap permanently, edit the /etc/fstab file and comment out the swap entry:

sudo sed -i '/ swap / s/^/#/' /etc/fstab

This command comments out every line containing a swap mount, preventing Ubuntu from enabling swap automatically during startup.

Note: If your server does not have a swap partition or swap file configured, both commands will complete without making any changes.

Step 2: Configure Kernel Modules and Networking

Kubernetes networking depends on several Linux kernel features that are not always enabled by default. Before installing Rancher, load the required kernel modules and configure the necessary networking parameters.

1. Load Required Kernel Modules:

The overlay module enables OverlayFS, which Docker uses as its storage driver. The br_netfilter module allows bridged network traffic to pass through iptables rules, which Kubernetes requires for pod networking.

Create a configuration file so Ubuntu loads both modules automatically during system startup:

cat <<EOF | sudo tee /etc/modules-load.d/rancher.conf
br_netfilter
overlay
EOF

The file ensures both modules remain available after every reboot. Next, load the modules immediately without restarting the server:

sudo modprobe br_netfilter
sudo modprobe overlay

The modprobe command loads kernel modules into the running system.

2. Configure Kernel Networking Parameters

Kubernetes requires several networking parameters to be enabled. These settings allow iptables to inspect bridged traffic and enable IPv4 packet forwarding between network interfaces.

Create a sysctl configuration file:

cat <<EOF | sudo tee /etc/sysctl.d/99-rancher.conf
net.bridge.bridge-nf-call-iptables = 1
net.bridge.bridge-nf-call-ip6tables = 1
net.ipv4.ip_forward = 1
EOF

Apply the new settings without rebooting the server:

sudo sysctl --system

The command reloads all sysctl configuration files and applies the new kernel parameters immediately.

Step 3: Configure Firewall

If your server uses UFW (Uncomplicated Firewall), configure it before deploying Rancher. Rancher requires ports 80 and 443 for HTTP and HTTPS traffic, while SSH access should remain available for remote administration.

Allow incoming SSH connections first to avoid locking yourself out of the server:

sudo ufw allow OpenSSH

Next, allow HTTP and HTTPS traffic:

sudo ufw allow 80/tcp
sudo ufw allow 443/tcp

Finally, enable the firewall:

sudo ufw enable

If you are connected to a server using SSH, the system warns you that the command may disrupt existing SSH connections and prompts you to proceed with the operation. Type y and press Enter to continue.

Note: Docker manages published container ports using its own firewall rules. If you rely on UFW to restrict network access, review Docker's firewall behavior before deploying production workloads.

Step 4: Configure Docker Log Rotation

Docker stores container logs in JSON format by default. Without log rotation, log files continue to grow over time and may eventually consume all available disk space. Configure Docker to rotate log files automatically by limiting their size and the number of retained log files.

First, create the Docker configuration directory if it does not already exist:

sudo mkdir -p /etc/docker

Docker stores daemon-level configuration files in this directory.

Next, create the Docker daemon configuration file:

sudo tee /etc/docker/daemon.json <<EOF
{
  "log-driver": "json-file",
  "log-opts": {
    "max-size": "10m",
    "max-file": "3"
  }
}
EOF

This configuration instructs Docker to use the default json-file logging driver, limit each log file to 10 MB, and keep a maximum of three log files for each container. When a log file reaches the size limit, Docker automatically creates a new file and removes the oldest one after reaching the configured limit.

Restart the Docker service to apply the new configuration:

sudo systemctl restart docker

The Docker daemon begins using the new logging configuration immediately after restarting.

Step 5: Create Persistent Storage

Rancher stores cluster configuration, certificates, application data, and other persistent files in the /var/lib/rancher directory inside the container. Mounting a directory from the host system ensures this data persists even if the Rancher container is stopped, removed, or recreated.

Create a directory on the host to store Rancher data:

sudo mkdir -p /opt/rancher

The -p option creates the directory only if it does not already exist and also creates any missing parent directories.

Deploy Rancher

After configuring the system, Rancher is ready to run. The steps below show how to deploy Rancher as a Docker container and access the control panel to manage your clusters.

Step 1: Deploy Rancher using Docker

The following command downloads the Rancher image if it is not already available locally and starts the container in detached mode:

docker run -d \
  --name rancher \
  --restart=unless-stopped \
  -p 80:80 \
  -p 443:443 \
  -v /opt/rancher:/var/lib/rancher \
  --privileged \
  rancher/rancher:latest

Docker returns the container ID after successfully starting the container:

Installing Rancher using Docker.

Starting Rancher for the first time may take several minutes while Docker downloads the image and Rancher initializes its services.

Step 2: Verify Rancher Container

Before opening the web interface, verify that the Rancher container is running:

docker ps
Checking running Docker containers.

If the container is not running, check its logs to identify the issue:

docker logs rancher

Step 3: Retrieve Bootstrap Password

During the initial startup, Rancher generates a temporary bootstrap password for the default admin account. Use this password to sign in for the first time.

Retrieve the password by searching the container logs:

docker logs rancher 2>&1 | grep "Bootstrap Password:"
Obtaining the Rancher bootstrap password.

Copy the password as you will need it for the next step.

Note: If the command does not return a password immediately, wait another minute and run it again. Rancher must complete its initialization before generating the bootstrap password.

Step 4: Access Rancher Web Interface

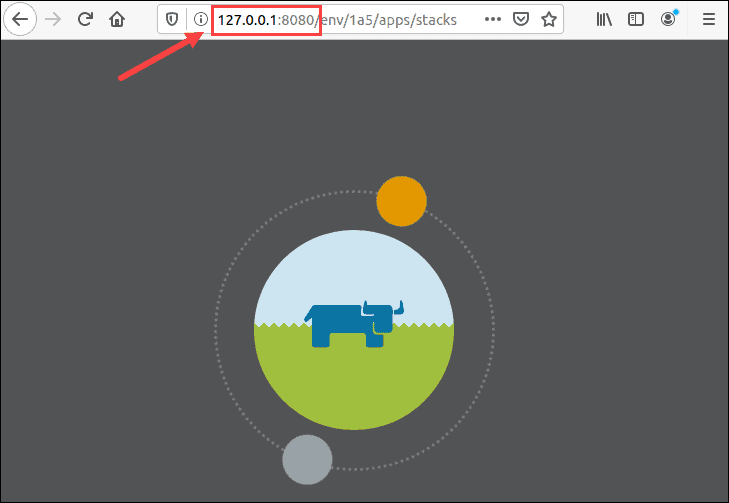
After the Rancher container finishes initializing, open a web browser and navigate to the server's IP address or DNS name using HTTPS.

For a local setup, you can access the interface at:

https://localhost

If you use Rancher's default self-signed certificate, your browser displays a security warning because the certificate is not issued by a trusted certificate authority. Accept the warning to continue to the Rancher login page.

Sign in using the bootstrap password retrieved in the previous step.

Signing in to rancher using the Bootstrap password.

After signing in, Rancher starts the initial setup wizard. In the setup wizard, you need to:

  • Create a new administrator password.
  • Configure the Rancher Server URL using your server's IP address or DNS name.
  • Accept the default settings or adjust them as needed.
  • Finish the setup wizard.

After completing the wizard, Rancher opens the dashboard:

Rancher dashboard example.

Step 5: Register Worker Node

After completing the initial Rancher setup, create a Kubernetes cluster and register your first worker node. During the cluster creation process, Rancher generates a registration command that installs the Rancher system agent and joins the server to the cluster.

Follow the steps below to register a worker node:

1. Log in to the Rancher web interface.

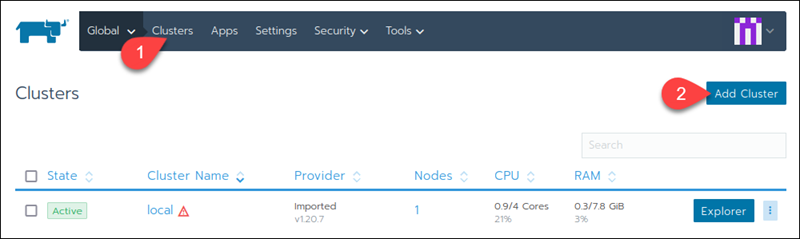
2. Expand the left-hand side menu and select Cluster management.

Cluster management in Rancher.

3. On the Cluster management page, click Create to create a new Kubernetes cluster on Rancher.

Creating a new Kubernetes cluster in Rancher.

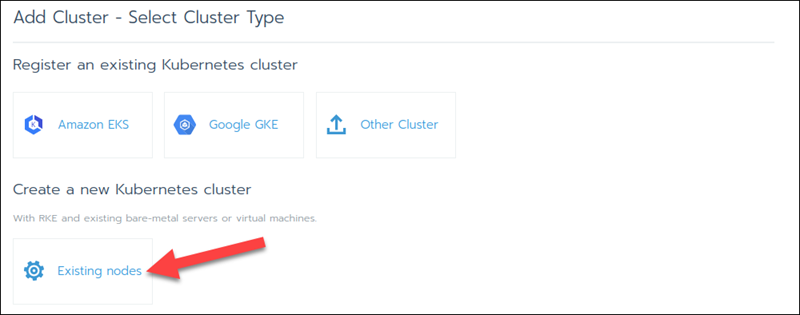
4. Select the Cluster type (an on-premises virtual machine, cloud-hosted VM, or bare metal server). For this tutorial, we will choose Custom.

Creating a custom Kubernetes cluster using K3s.

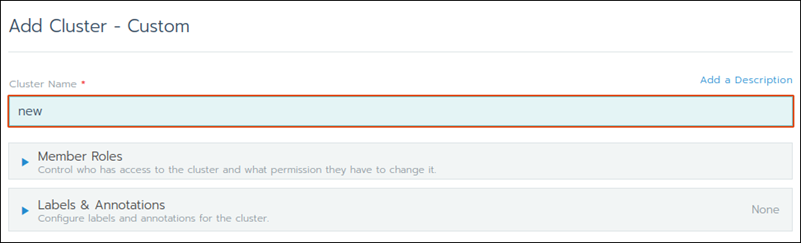
5. Fill out the necessary information for the cluster and click Create.

Creating a new Kubernetes cluster.

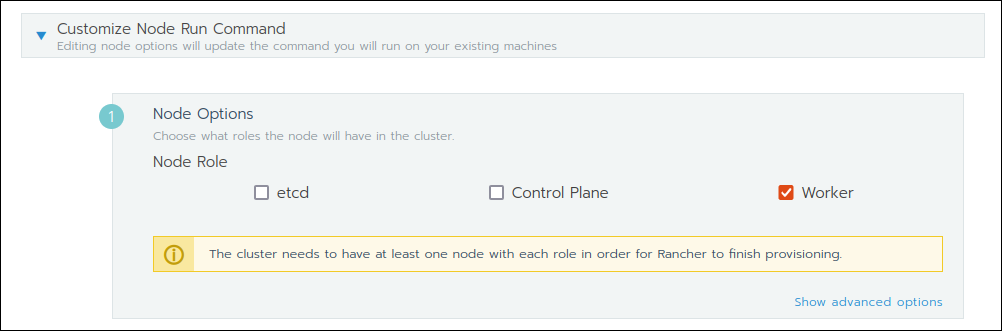
6. Once you create the cluster, select the node role:

Selecting the node role in the cluster.

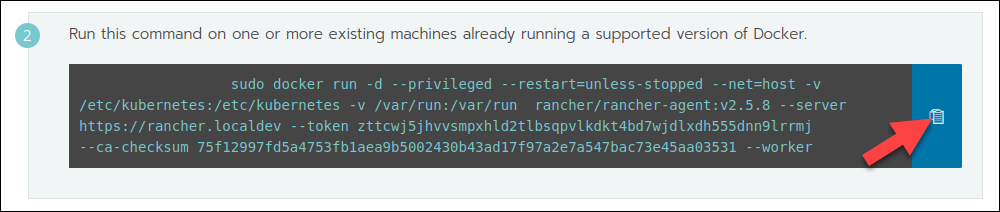
7. Copy the registration command that Rancher provided, and run it on the machine you want to use as the worker:

Rancher registration command example.

The command downloads and installs the Rancher system agent, registers the server with Rancher, and automatically assigns the selected node role. The installation may take several minutes, depending on the server's network connection and hardware resources.

After the node becomes active, it is ready to run workloads as part of your Kubernetes cluster.

Conclusion

This tutorial showed how to install Rancher on Ubuntu. You can now use Rancher to provision additional clusters, add more nodes, and manage Kubernetes workloads from a centralized interface.

Next, read our in-depth comparison between Rancher and Portainer.

Was this article helpful?
YesNo